
Workspace is the main area where you will spend most of the time when working in Google Task Manager. This is where you add the tags, make change to the tags and then publish them to your site. Workspace enables you to create multiple set of changes to your container.
You can have multiple Workspaces which allow multiple people to work at the same time independently of each other.
Note: Only three Workspaces are allowed in the free version of Google Tag Manager. Professional version has 50 Workspaces. For a small organization or individuals three Workspaces are more than enough.
Keep in mind that when multiple people are working on the same container, one or multiple Workspaces may go out of sync because somebody made a change that impacts the version you are working on. If that happens then you will be notified of those changes and you will be given an option to update the Workspace to bring in any changes that others have made, so that everything can be in sync again. Don’t worry if this is not clear yet. It will become clear as you start to work with Google Tag Manager.
Even though you can make a lot of changes in a Workspace, Google recommends that you use Workspaces for a smaller set of changes whenever possible. This enables you to manage the complexity much easier. If you do not make many complex changes in one Workspace, you can easily roll back to a previous version, if you make a mistake, without losing a lot of work.
The Workspace overview screen gives you quick links to create a new tag, access to all Workspaces, version of the live container and history of Workspace changes. Clicking on various links will provide you details.

Figure: Google Tag Manager Workspace
Click on the arrow next to Default Workspace on the left-hand side, to open a window that will allow you to pick a Workspace from the list or create a new one to work on. Usually you will end up working in the default Workspace.
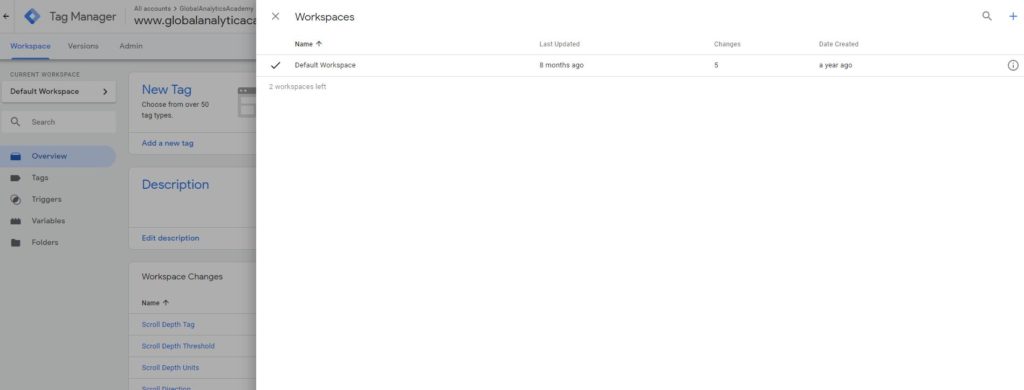
Figure: Select or Create a New Workspace
Workspace has several menu options on the left-hand side to help you easily navigate to create and manager Tags, Triggers, Variables and Folders.
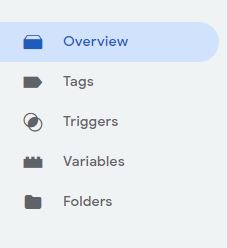
Figure: Workspace Menu Option
Let's quickly look at what these options are, we will cover them in detail in future chapters.
Tags: These are the codes that you want to fire.
Triggers: Set of rules that determine when a Tag is fired.
Variables: Like any other programming language, store the values that you need to re-use in various tags and triggers. There are several predefined Variables that Google Tag Manager provide, in addition to those, you can also define custom variables.
Folders: Just like folder on your computer, they help arrange various tags, triggers and variables so that you can quickly find them when needed.
Previous Chapter: Google Tag Manager Admin Panel Overview
Enroll in our Google Tag Manages courses
- Google Tag Manager (GTM) Online Training Course - From Zero to Hero
- Google Tag Manager Advanced Applications
Want to Learn Web & Digital Analytics? Enroll in a Web & Digital Analytics Course
Related Services