
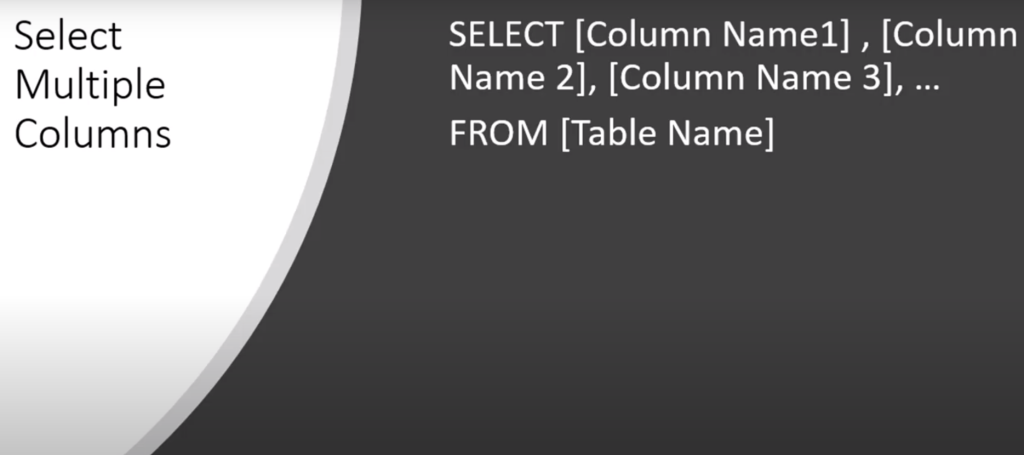
In this article, I will show how you can select records from a table so that you can see what data is coming across. To pull the data from any table you need a select statement. The syntax for select statement is SELECT followed by the column’s name where you want to pull the data from and then from the table name. To pull the data from multiple columns, you will have to mention the column names separated by a comma in the SELECT statement and then from the table name.

To select the data from all the columns, rather than listing all the column names separated by a comma, add a star or asterisk syntax, and it is the same SELECT list of columns and add the table name.
In BigQuery, SQL statement will allow us to look at the data in a particular table. So click on the project within your project, you’ll see all the data sets. I only have one data set here, and that is the data coming from Google Analytics4 into BigQuery. Expand the data set, and here are the tables listed. These are the daily tables, and then there is an intraday table. To query any of these tables, click on on that table, and you’ll see specific options become available. One of the options is QUERY TABLE. Clicking on the QUERY TABLE option will write a SQL statement.
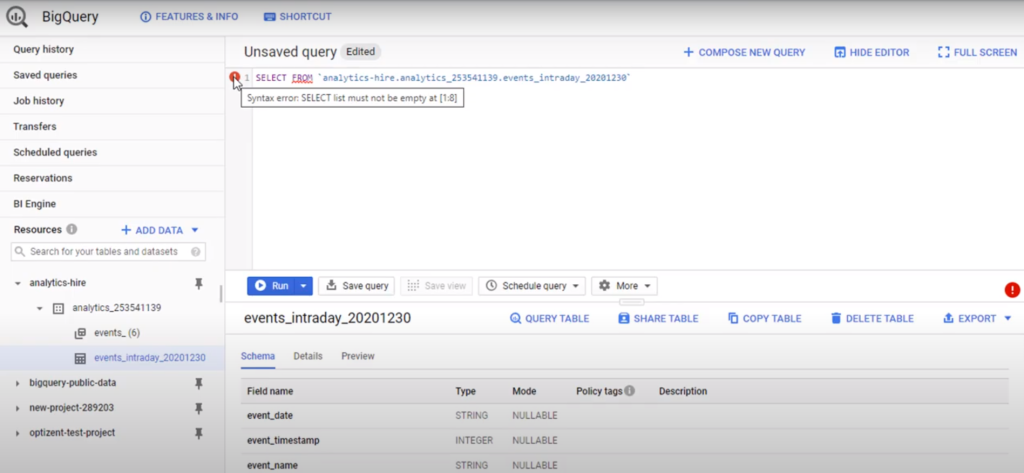
When the query table option is clicked it provides the skeleton of the SQL statement required to pull the data. This statement is not complete, yet it is missing a list of columns to select the data and it also limits the data. In the SQL statement, I want to draw attention to the two icons that appear on the screen. Whenever the SQL statement has a problem, you will see these notices from BigQuery that tell us something is wrong.
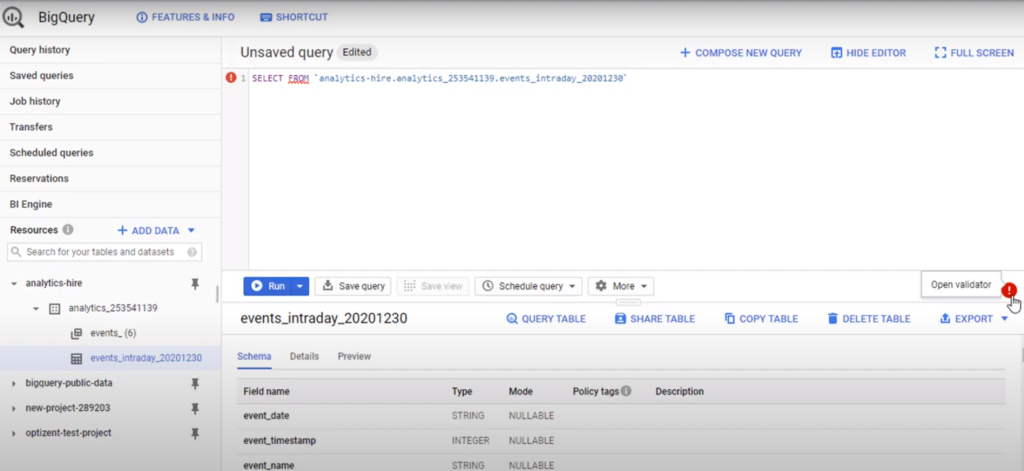
Hovering over this icon will show you the error message as it says here select list must not be empty. It is missing a list of columns; similarly, hovering over this asks you to open the validator. Click on it, and the same message appears. Click on this icon again, and the message goes away.
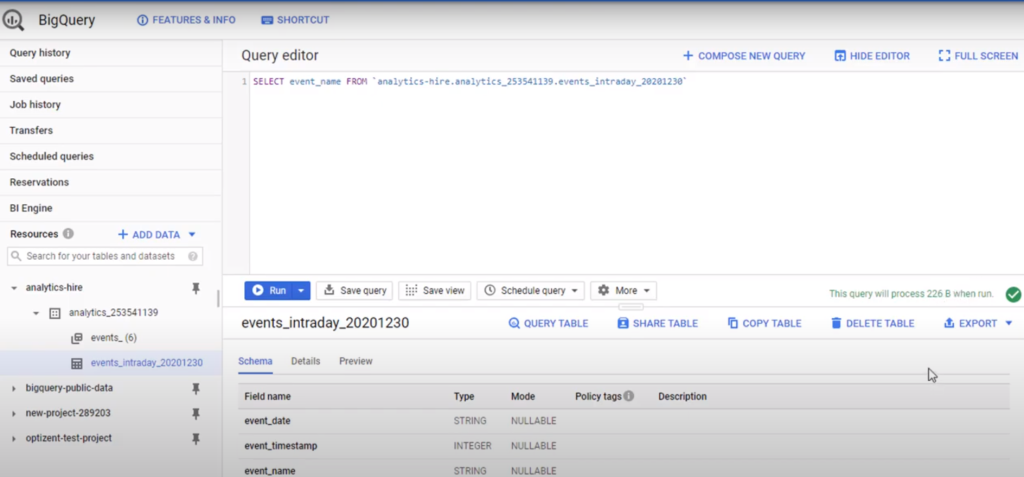
So let’s add the list of columns. First, add one column, second, add multiple columns, and then finally select all the columns. So that you can see all three different statements. Let’s assume that we want to look at all the event names from this table. The first thing is to find the name of that column or the field from this table and type that in here. So looking at this table right here field name is called event_name. So type that to get the list of all the events from this table. So let’s go ahead and type that. Keep in mind SQL is case insensitive. It doesn’t matter whether it is in lowercase or uppercase either will work as soon as you add the column name to the statement this statement is now valid, and hence the error messages are gone.
Once the statement is complete, BigQuery will show you how much data will be processed to run this query. Since BigQuery charges by the amount of data it processes, it becomes critical. For smaller sites, this might not be a problem; however, if you have a large site that sends a lot of data to BigQuery and you are running SQL statements pay attention to this number and make sure you’re not exceeding your spending limits. There are ways to limit the amount of data that is processed.

Once the statement is ready, clicking on the run will show the results. The results will appear in this area, so click on the run, and here are the results. It shows the event name for every single row in this table. That’s what we asked here to select the event_name, which is the field name or the column name from the table name. To add other columns to this list (you can add them right here, separated by comma). So let’s say we want to add two more columns to this.
The more familiar you are with the names of the fields or columns, the faster you will be able to construct these queries. If you are not familiar with fields or columns that exist in a particular table, you can always click on that table and find out the names of the fields or columns. Suppose you want to also pick the event_date and event_timestamp. In that case, add them to this list. It doesn’t matter which order it is added on the SQL is the order that it will appear in the result set. If the event date and event timestamp is added after the event_name. Now it has three columns and notice the number has changed. Go ahead and click on the run, and here is the result event name, event date, and event timestamp.
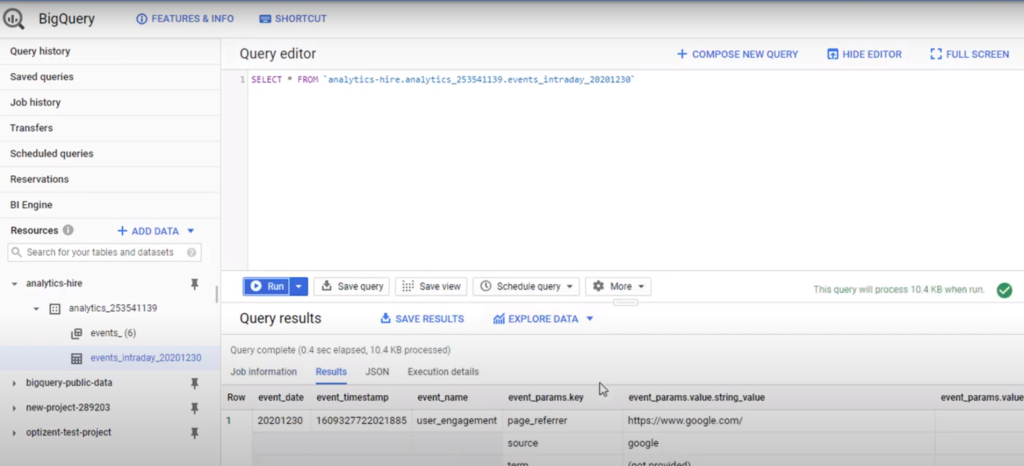
Let’s assume you want to scan the entire table. You want to see all the columns that are in this table. Simply enter star or asterisk; star or asterisk means all the columns from this table. So SELECT star FROM and the table name, and you’ll notice that you are processing a lot more data here. So more columns you select and larger your table, the more data will be processed for BigQuery to run the statement. So once the statement is ready, click on the run. Here you can see all the columns. To make this window a bit bigger, hover over this divider and pull it up while your mouse is down.
So here you have it, you can see various rows as you scroll down, up, and across to see all the columns. Remember, I removed a limit statement that BigQuery initially created, when you press the button to create a new query. That limit statement allows you to limit the number of records that will be returned in this result. This table is not large enough; it only has 19 rows but if your table is large, let’s say you have millions of records you don’t want to run a query to pull all the data to see what columns are there, what values are there. In that scenario if you just want to sample your table, add a limit statement. So how that limit statement works is, if you type in limit and then enter a number to specify the number of rows that you want to return from that table.
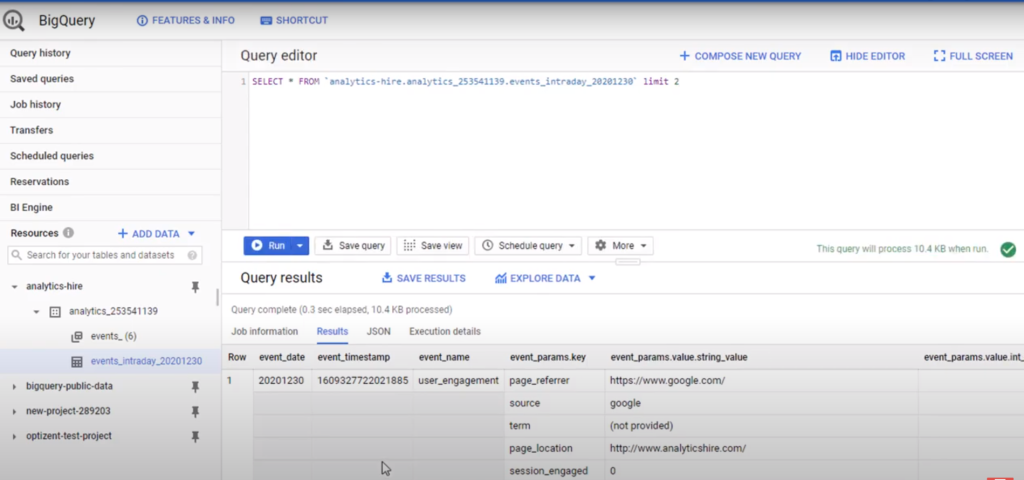
By default, Big Query says thousand. In this scenario, I will limit it to two rows to show you how this works. Once added, go ahead and click on the run, and now, when you look at your result set, you will only see two records because we specified the limit as two. So that’s how the limit function works. It limits the number of records that will be returned from the result set. Keep in mind the syntax SELECT column name or names and star for all the columns then you have the word FROM and then specify the table name. If you want to limit the number of records, add LIMIT and then the number of records you want to return from the result set. Become familiar with the syntax because this is the most commonly used syntax in SQL.
Need help with GA4 and or BigQuery?
Reach out to us at support@optizent.com or fill the form below and we will be in touch. We can not only help you get the most out of your Analytics tools but also training your team.