
JavaScript is an essential part of marketing analytics; a lot of marketing analytics tools are JavaScript codes. Google Tag Manager is built-in JavaScript. By using JavaScript, you can extend the functionality of Google Tag Manager and go into advanced tracking. However, whenever you’re dealing with JavaScript, you will also have to account for errors that can occur because of syntax issues or the variables and the data you’re dealing with in your code. Google Tag Manager has built-in functionality that doesn’t allow you to proceed if your code has syntax errors. However, it does not know what you will encounter when your code runs. Because of this, you need to handle those errors elegantly in your own coding. These errors are also called exceptions in JavaScript.
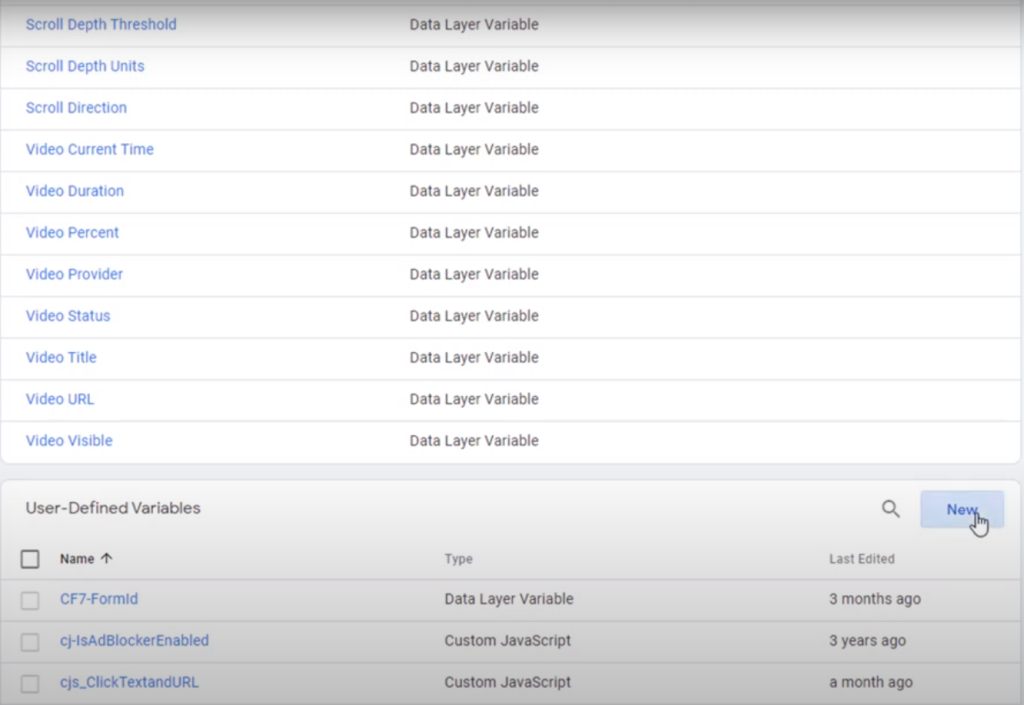
This article explains how you can properly handle those errors that occur in the runtime. In Google Tag Manager, I will show you how to handle the errors appropriately by using an example of creating a custom JavaScript variable. Even though I’m using a custom JavaScript variable as an example to show you how to handle JavaScript errors and the same logic will apply to custom HTML tags or any other JavaScript environment. Click on new in User-Defined variables to create the custom JavaScript variable. Click in the middle again and pick custom JavaScript. This is where you’ll write the JavaScript code.
Custom JavaScript variable is an anonymous JavaScript function that returns a value. This code has an error, and I’ve defined a variable then assigned a value to that variable. Then divide the variable one, which I haven’t defined yet, by the variable two that I define and then assign the result to another variable and return that variable. So as you can see, I haven’t defined variable one or variable final.
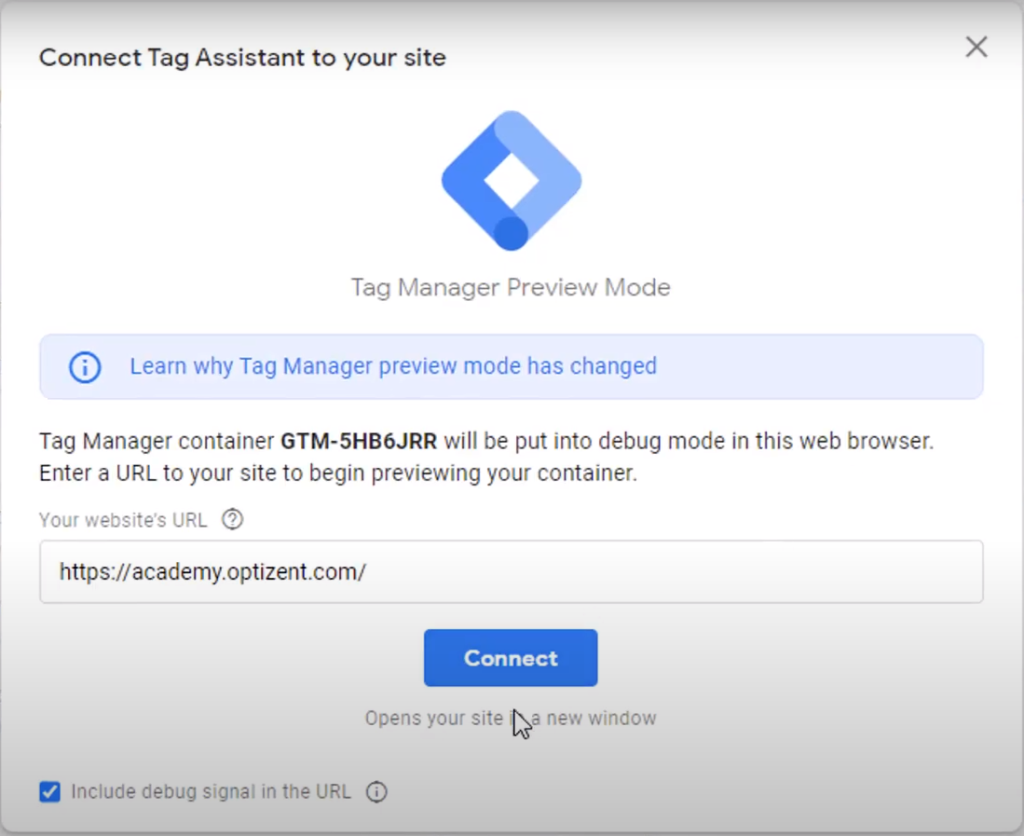
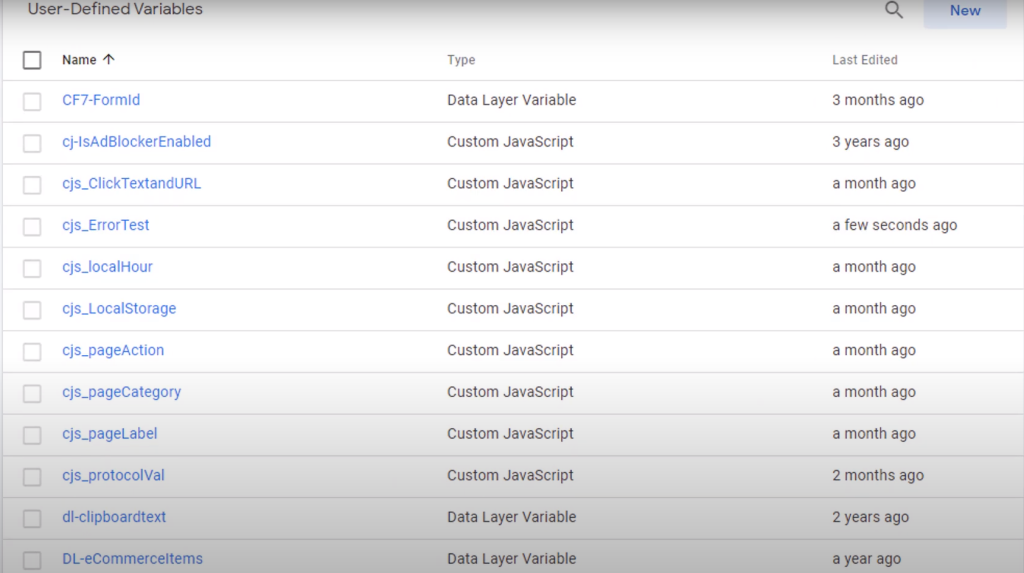
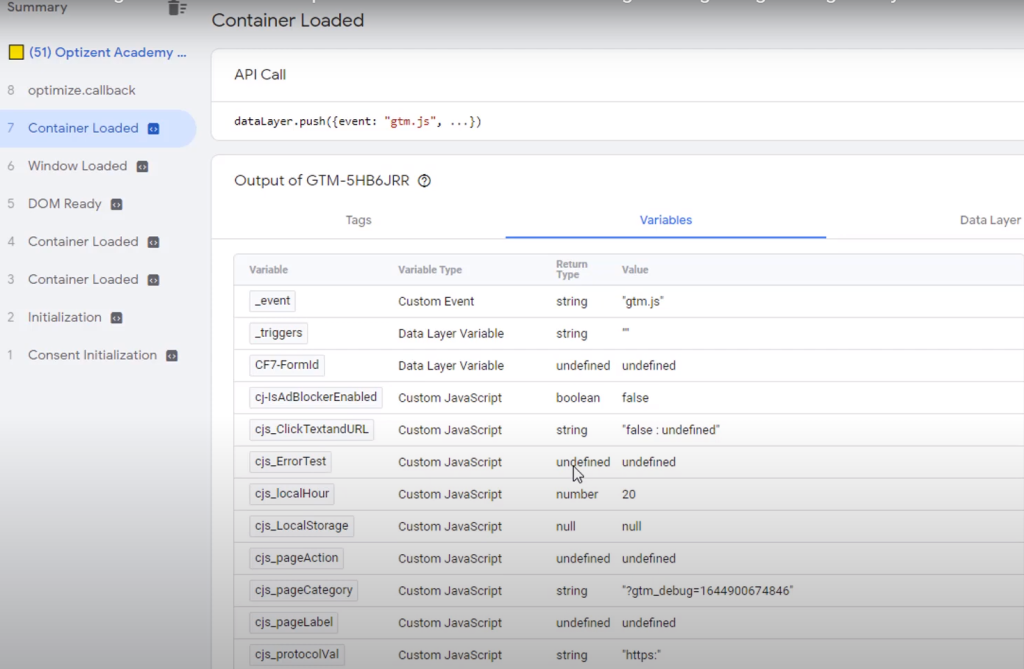
As a result, I will get some unexpected values in this variable. Let’s go ahead and save this and see what value gets assigned to this variable. I’m going to call this as cjs_ErrorTest. Go ahead and save it. Now our variable is created. Go ahead and put the tag assistant in preview mode. Click on preview, click on connect, and tag assistant is connected. Go to tag assistant, click on continue, go to container loaded because that’s where all the variables are being set. Click on variables, and here cjs_ErrorTest is showing you undefined. So clearly, there is no value coming across; that’s why it’s undefined.
To fix that, we will have to write some extra code. Go back to Google Tag Manager and write that code. Disconnect the tag assistant and go back to Google Tag Manager. Go down, find the variable (cjs_ErrorTest) and click on it. To find the actual error or to capture the error, you have to wrap this code in a try-catch statement. This statement starts with the keyword “try,” followed by open curly brackets, and go all the way down and add a closed curly bracket. So all of your code right here is wrapped in curly brackets.

Then you enter catch and pass in a variable (e) in the parenthesis. This variable can be named anything. This variable or identifier will contain the information about the error. After the variable, add an open curly bracket near the variable and then close the curly brackets below. Now, when an error occurs in this block, it will catch the block. Right here, you can return a message (return Error Occurred;) that will tell that an error occurred. When there is an error or exception in this code, this message will be returned. However, this message is not very meaningful. To provide a more meaningful message, you can use the e variable (return e.message;) here, also called an identifier, and use the message property of this identifier. This will give us a more meaningful message rather than a generic message.

Go ahead and save the variable, and now the variable is ready. Go and put our container in preview mode to see the value that’s contained in the variable. Click on preview, click on connect, tag assistant is connected. Go to the tag assistant window, click on continue to go to container loaded because that’s where you’ll see the variables. Click on variables and scroll down, and here you can see cjs_ErrorTest shows that var1 is not defined. That’s the problem in the code. Once you fix this error and go back to the preview mode, you’ll see the next error if there is one. So by using the error identifiers message property, you have been able to get a more meaningful error message.
So anytime you write your custom JavaScript variables or custom HTML tags, make sure to wrap your code in a try-catch statement. By doing so, you will be able to identify the errors in your code quickly and ensure that your website code does not break.
- Workshop – We offer onsite customized workshops. Reach out to us for more details.
- Consulting – We can get you up and running with Google Analytics 4 as well as train your and your team to use it effectively. Reach out to us for more details.
- Freelancers – Join our network and get support to help your clients with JavaScript, Google Tag Manager, and more.