- Prerequisites
Before you start, make sure you have:
– Meta Business Manager account (Pixel ID/DataSet ID & Pixel Secret/Access token)
– Shopify Admin access
– Installed & Subscribed Analyzify app
– (Optional) Product identifier format (Product ID, Variant ID, or SKU) for matching with catalog.
- Set Up Client-Side Pixel Tracking
Meta recommends using both client-side and server-side tracking together.
1. Log in to Analyzify → Integrations
2. Select Meta (Facebook) Pixel
3. Enter:
– Pixel ID/Data set ID
To find the Pixel id/ Data Set ID- Go to Events manager> Pixel Settings
– Content ID format (match your Facebook catalog)- That’s important & needs to be matched if you are running catalog ads on meta. If you are not running catalog ads then you can ignore it.
4. Enable the events that you need : For Example Purchase, InitiateCheckout, Add to Cart,ViewContent etc.
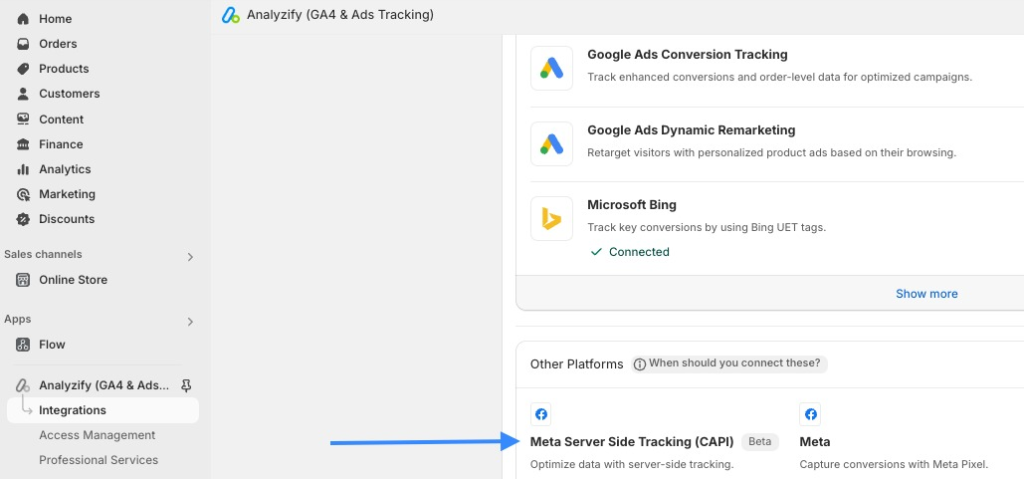
3 . Configure Server-Side Tracking (CAPI)
1. Go to Analyzify → Integrations → Meta Server-Side Tracking (CAPI)
2. Click Connect
3. Provide:
– Pixel ID/Data Set ID
– Pixel Secret/Access Token (create in Meta Events Manager → Settings → Conversions API → Generate Access Token)
– Content ID format
4. Review events → Accept Data Privacy → Save