
If you use Klaviyo for email marketing, sending website events to Klaviyo is one of the best ways to improve segmentation, automation, and campaign performance.
But many Klaviyo integrations rely heavily on client-side JavaScript—which can create performance issues, data loss, and implementation limitations.
A server-side integration using Google Tag Manager solves that.
In this guide, I’ll show you how to integrate Klaviyo with your website using a GTM server container, so you can send events and user data to Klaviyo without relying on frontend scripts.
Why Use Server-Side Klaviyo Tracking?
Most Klaviyo website integrations use JavaScript loaded in the browser.
That works—but it comes with drawbacks:
- Additional JavaScript slows down page speed
- Browser restrictions can block tracking
- Ad blockers may interfere with requests
- Custom event tracking often requires developer support
A server-side setup moves event processing to your tagging server instead.
That gives you more control, cleaner architecture, and often better performance.
Benefits of Server-Side Klaviyo Integration
A server-side Klaviyo setup can help you:
- Send website events directly to Klaviyo
- Create or update Klaviyo profiles automatically
- Track custom events beyond standard CMS integrations
- Reduce frontend JavaScript load
- Centralize tracking logic inside GTM
What You Can Send to Klaviyo
Using a server-side GTM integration, you can send:
- Purchase events
- Add to cart
- Begin checkout
- Form submissions
- Search events
- Wishlist actions
- Custom business-specific events
You can also attach user data such as:
- Phone
- Name
- Customer properties
How the Setup Works
The overall flow looks like this:
- Website generates an event in Web GTM
- Web GTM sends event data to Server GTM
- Server GTM processes the request
- Klaviyo server tag sends event to Klaviyo
- Klaviyo creates/updates profile and records event
This creates a flexible server-side pipeline for Klaviyo event tracking.
Step 1: Set Up Your Server GTM Container
Before anything else, you need a working server-side GTM container.
Make sure you have:
- Server container deployed
- Custom tagging domain configured
- Web GTM sending requests to server container
If this is not already set up, complete that first.
Step 2: Decide What Data to Send
Before configuring Klaviyo, define:
- Which events you want to track
- Which user identifiers you will send
- What custom parameters should accompany each event
Typical examples include:
| Event | Common Parameters |
| Purchase | value, currency, items |
| Add to Cart | product_id, quantity |
| Form Submit | form_name, lead_type |
| Search | search_term |
Planning this upfront keeps your setup organized.
Step 3: Pass Data from Web GTM to Server GTM
Next, send event data from your web container to your server container.
A common approach is using a Data Tag / Data Client architecture:
Web Container
Send:
- Event name
- User data
- Ecommerce data
- Custom parameters
Server Container
Receive and parse the incoming request.
This creates the event payload your Klaviyo tag will use.
Step 4: Add the Klaviyo Tag Template
Inside your server GTM container:
- Go to Templates
- Open Template Gallery
- Search for Klaviyo tag
- Add it to your container
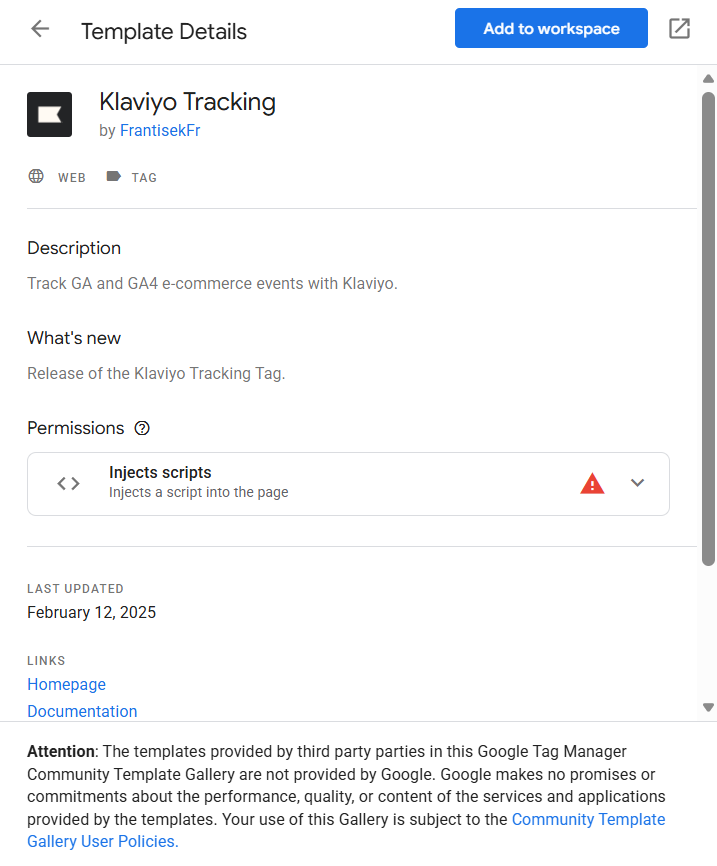
This template handles communication with Klaviyo’s API.
Step 5: Configure the Klaviyo Tag
Create a new server-side tag.
Required Settings
Private API Key
Add your Klaviyo private API key.
Event Name
Map your incoming event name.
User Identifier
Typically email.
Klaviyo uses the email address to:
- Match an existing profile
- Or create a new profile if none exists
Example: Purchase Event Setup
For purchase tracking:
Trigger
Fire on:
purchase
Send:
| Parameter | Example |
| Event Name | Purchase |
| user@example.com | |
| Value | 129.99 |
| Currency | USD |
| Items | Product array |
This will create/update the Klaviyo profile and attach the purchase event.
Step 6: Test the Integration
Use Preview Mode for both:
- Web GTM
- Server GTM
Verify:
- Data reaches server container
- Klaviyo tag fires correctly
- Event payload contains expected parameters
Then confirm inside Klaviyo that:
- Profile was created/updated
- Event appears under activity feed
Limitations to Know
While server-side Klaviyo integration is powerful, note that:
- Klaviyo Forms are not supported via this method
- You still need frontend embeds for Klaviyo form rendering
- Some onsite behavior tracking may require JS
Why This Setup Is Better Than Standard Klaviyo JS
Compared to default frontend integration:
| Standard Klaviyo JS | Server-Side GTM |
| Adds page weight | Keeps frontend lighter |
| More browser blocking | Better delivery reliability |
| Limited customization | Fully customizable |
| Harder for custom events | Easy to extend |
Final Thoughts
A server-side Klaviyo integration gives you more flexibility and control than relying solely on frontend JavaScript.
It allows you to:
- Send richer event data
- Improve page performance
- Track custom business events
- Centralize tracking logic in GTM
If you already use server-side GTM, integrating Klaviyo this way is often the cleanest long-term setup.