
Tracking purchases from Stripe isn’t as straightforward as it should be. The moment a customer leaves your website to complete payment on Stripe, you lose visibility. No cookies, no session continuity, and often—no reliable attribution.
In this guide, I’ll walk you through a clean, practical way to fix that using server-side Google Tag Manager (sGTM). This approach avoids messy workarounds and gives you full purchase data with proper session tracking.
Why Stripe Purchase Tracking Breaks
When users complete payment via Stripe Checkout or Payment Links:
- The transaction happens on Stripe’s domain
- Your tracking pixels don’t fire
- You only get a session ID on return
- No revenue, no product data, no attribution
Traditional fixes don’t really solve this:
- Webhooks → Give order data but no session context
- Zapier / automation tools → Partial and unreliable
- Client-side hacks → Often insecure or incomplete
So the core problem is simple:
You need both purchase data + session context in one place.
The Solution: Server-Side Tracking with sGTM
The clean solution is:
Use one JS snippet + one sGTM client template
This setup ensures that when a purchase happens, you capture:
- Full Stripe order data
- Browser/session data
- Ad platform cookies
All tied together correctly.
How the Tracking Flow Works
Here’s the full flow in simple terms:
- Customer completes payment on Stripe
Stripe redirects to your thank-you page with:
?session_id={CHECKOUT_SESSION_ID}
- A JS script on your thank-you page:
- Reads the session ID
- Collects cookies (_ga, _fbp, etc.)
- Sends everything to your sGTM server
- sGTM calls Stripe API (server-side)
- Stripe returns full purchase data
- sGTM sends enriched events to GA4, Meta, etc.
This is the key difference:
The request comes from the user’s browser, so session data is preserved.
That means no more broken attribution.
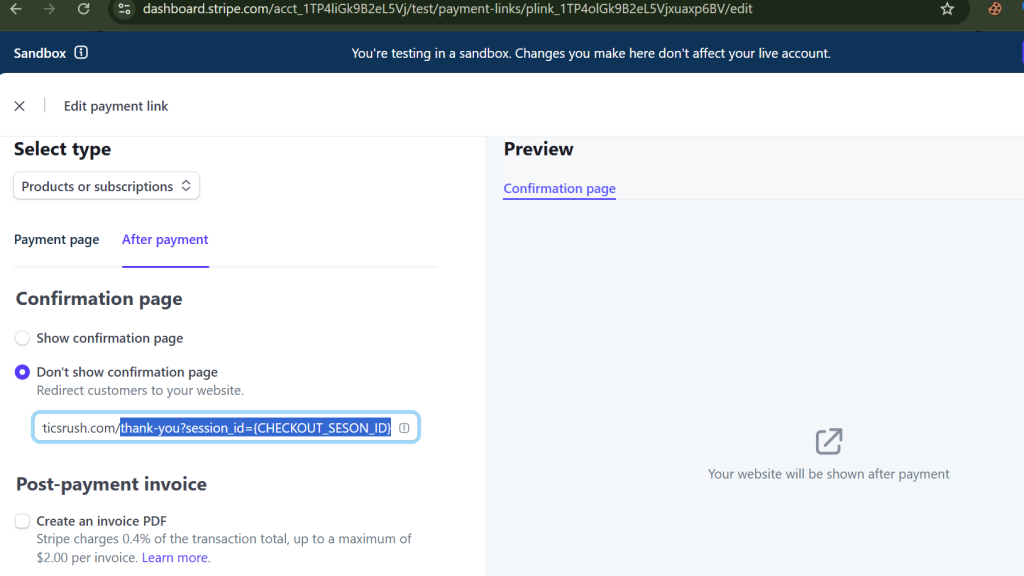
Step 1: Set Up Your Thank-You Page Redirect
You need Stripe to send users back with the session ID.
For Stripe Payment Links:
Set redirect URL to:
https://yourdomain.com/thank-you?session_id={CHECKOUT_SESSION_ID}
For Custom Checkout:
Add:
success_url: ‘https://yourdomain.com/thank-you?session_id={CHECKOUT_SESSION_ID}’
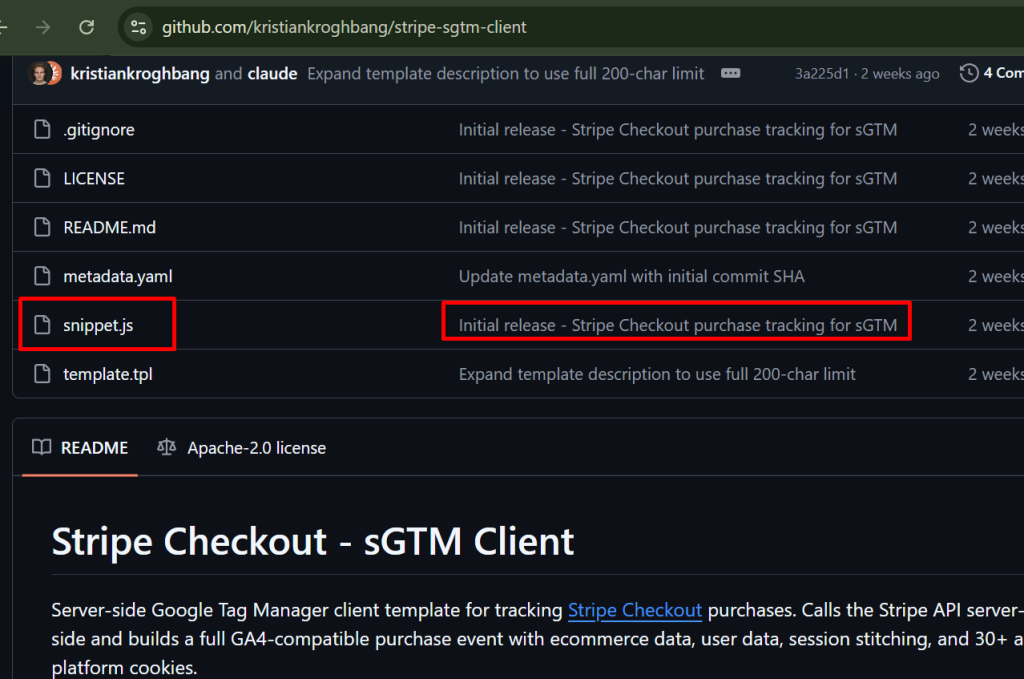
Step 2: Add the JavaScript Snippet
https://github.com/kristiankroghbang/stripe-sgtm-client
Place a script on your thank-you page that:
- Reads session_id
- Collects cookies (GA4, Meta, TikTok, etc.)
- Sends data to your sGTM endpoint
Example endpoint:
https://sgtm.yourdomain.com/stripe-purchase
This script is critical because:
- It captures browser context
- It preserves session continuity
- It bridges client → server tracking
Step 3: Configure sGTM Client
Inside your server GTM container:
- Import the Stripe client template
- Create a new Client
- Configure:

| Setting |
| Request Path |
| Stripe Secret Key |
| Allowed Origin |
This allows your server to securely fetch Stripe data.
Step 4: What Data You Get
Once configured, each purchase event includes:
Ecommerce Data
- transaction_id
- value
- currency
- tax, shipping
- items
User Data
- Phone
- Name
- Address
Session Data
- client_id
- session_id
- IP
- user agent
Marketing Attribution
- _ga, _fbp, _gcl_aw
- TikTok, LinkedIn, etc.
This is what makes the setup powerful—you get complete attribution with full purchase data.
Step 5: Test Your Setup
Before going live:
- Run a test purchase
- Open sGTM preview mode
- Verify:
- Purchase event fires
- Data is complete
- Session is stitched correctly
Final Thoughts
If you’re using Stripe and relying on accurate conversion tracking, this setup isn’t optional—it’s essential.
With just:
- One script
- One sGTM client
You can move from broken attribution to full-funnel visibility.
And once this is in place, your data becomes something you can actually trust—whether it’s for GA4, Meta, or Google Ads optimization.